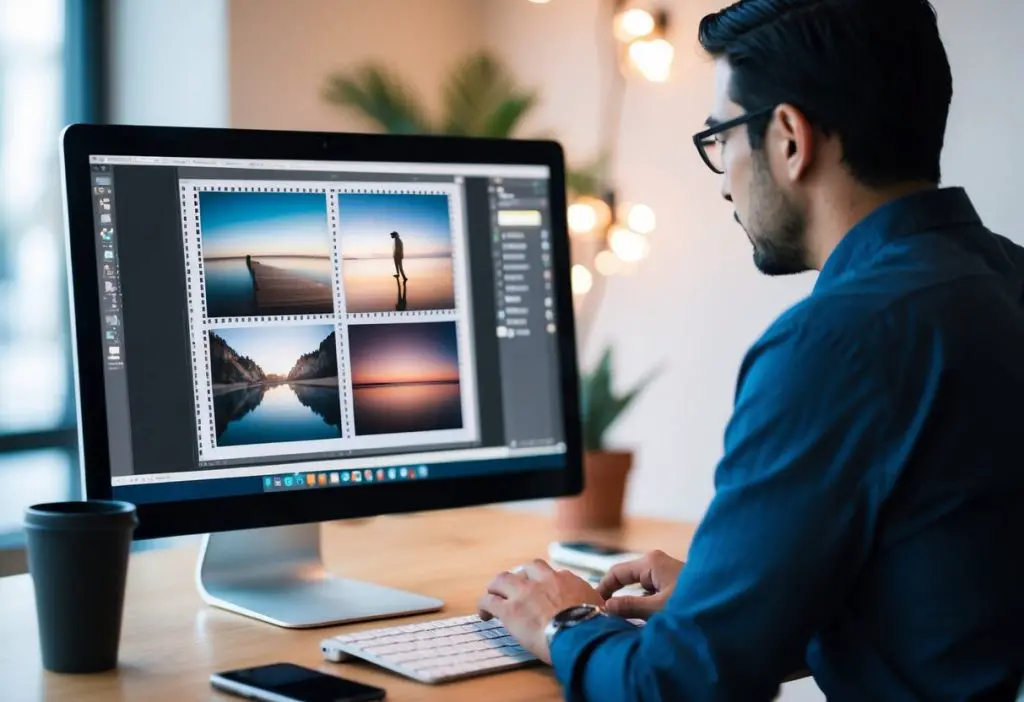
Photoshop provides powerful tools for combining images that can enhance creativity and improve visual storytelling. Knowing how to merge two images effectively can lead to stunning results in photo editing projects. This skill is valuable for photographers, graphic designers, and anyone looking to create captivating visuals.
Combining images allows for unlimited possibilities, from simple overlays to complex compositions. With the right techniques, users can create seamless blends that showcase their artistic vision and elevate their work. As more people explore digital art, mastering this skill becomes increasingly important.
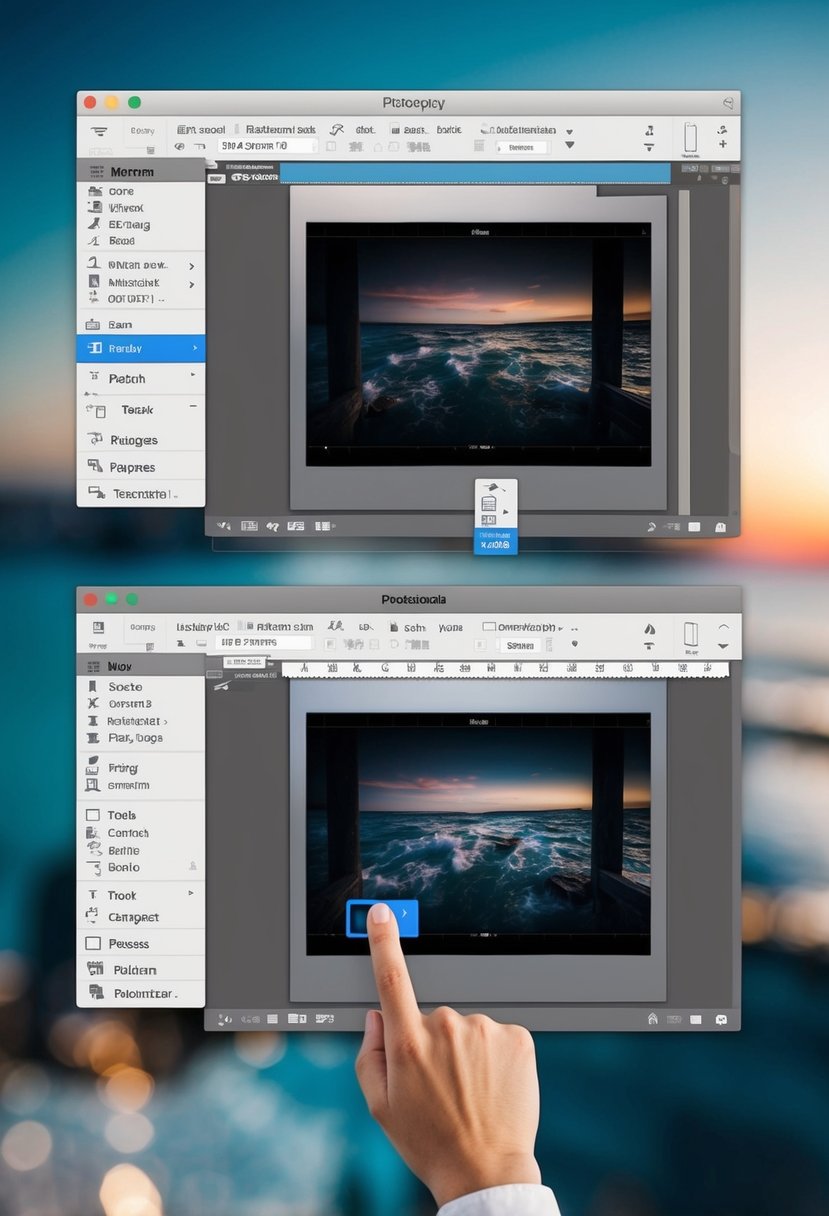
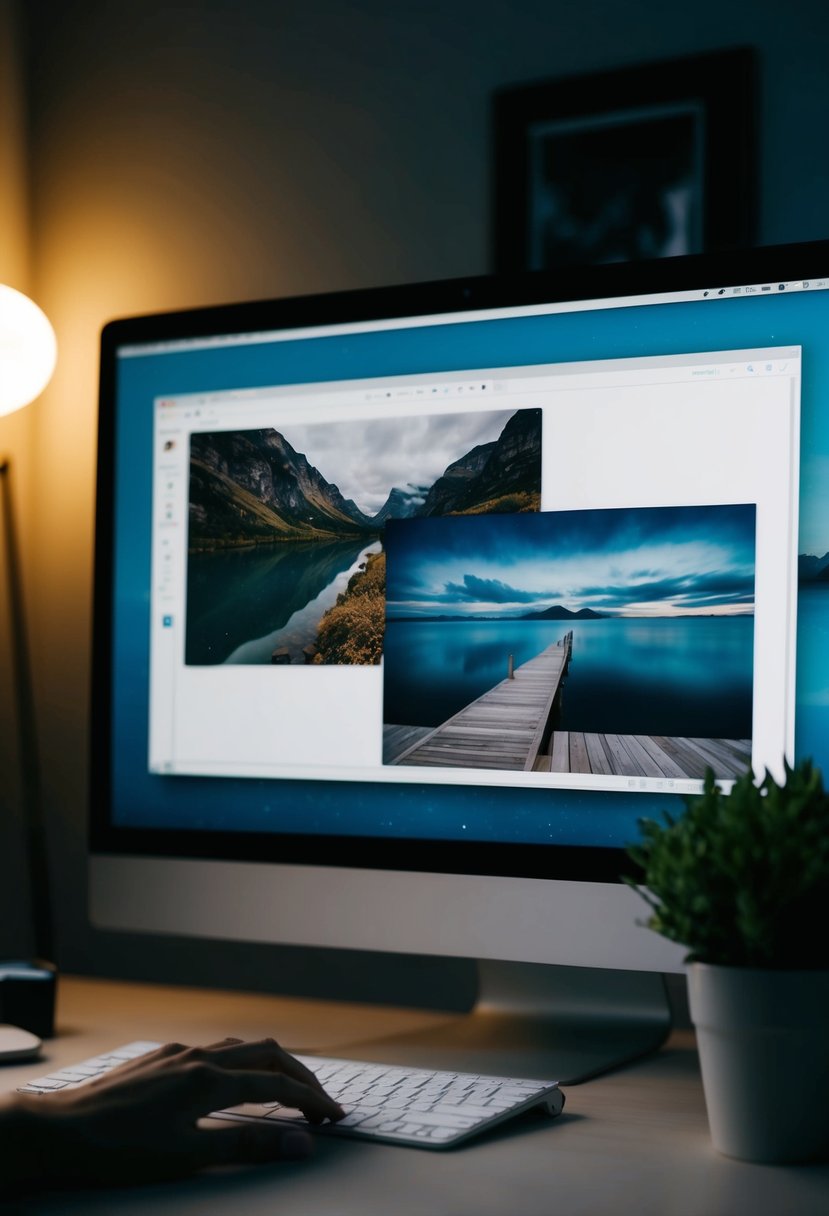
1: Open both images in Photoshop and drag one over the other.

To combine two images in Photoshop, the first step is to open both images. The user can do this by selecting “File” from the menu and then choosing “Open.” They should locate the images they want to use.
Once both images are open, the next step is to arrange them side by side for easier access. This can be done by going to the “Window” menu, selecting “Arrange,” and then choosing “2-up Vertical.”
With both images visible, the user should select the Move Tool from the toolbar. They can then click on the first image and drag it over to the second image.
While dragging, it is helpful to hold down the Shift key. This will help to center the first image on top of the second image when it is released.
After releasing the mouse, the dragged image will appear as a new layer in the second image’s document. This allows for further adjustments and editing to create a cohesive image.
2: Use Layer Masks to seamlessly blend the images together.
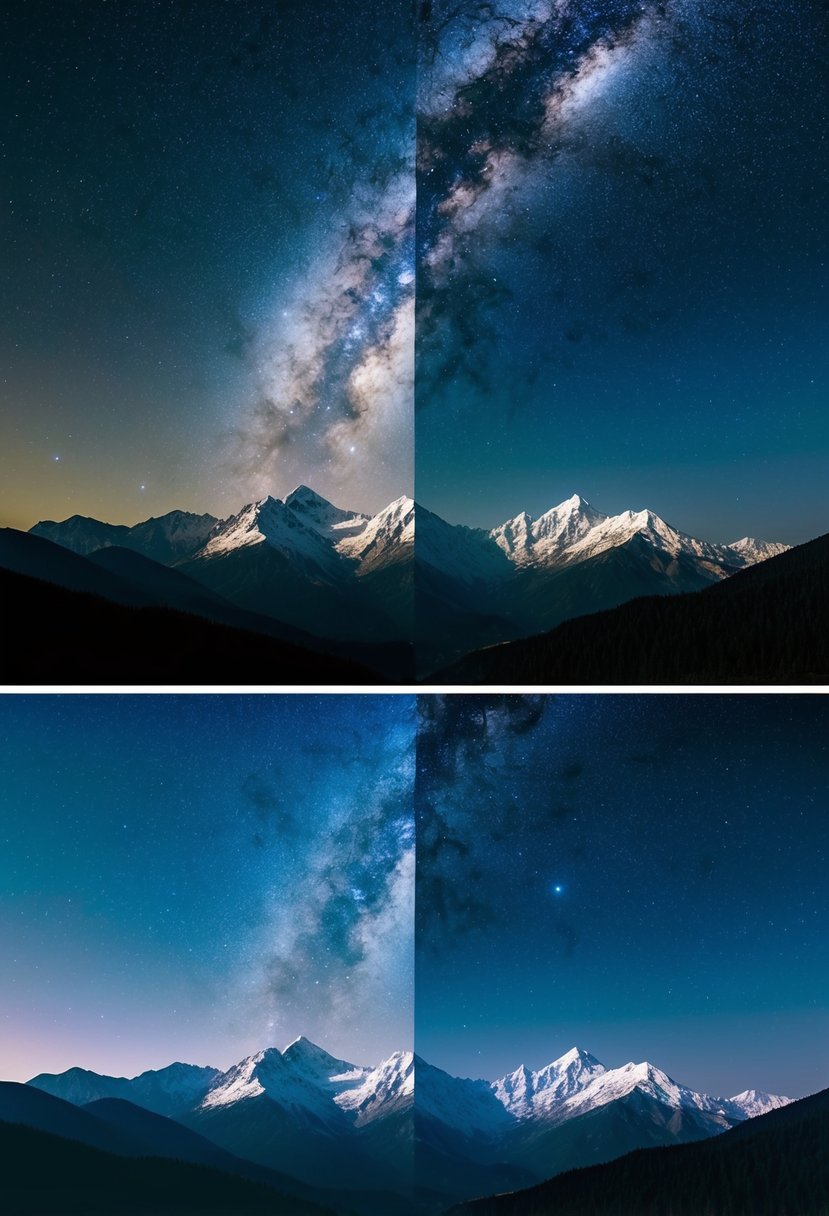
Layer masks are a powerful tool in Photoshop. They allow the user to blend two images smoothly without losing any part of the original photos.
To start, you should add a layer mask to the top image. This can be done by selecting the layer and clicking the mask icon. The mask will appear as a white thumbnail next to the layer.
Next, using a brush tool set to black, you can paint over areas of the top image. Painting with black hides those parts of the image, letting the bottom image show through. If you make a mistake, switching the brush color to white will reveal the hidden areas.
Adjusting the brush’s hardness and opacity helps create a smoother blend. A softer brush allows for a more gradual transition between the two photos.
You can also use gradients on the layer mask for a seamless effect. This technique blends areas based on the gradient used, enhancing the overall appearance.
By mastering layer masks, you can create stunning composites that maintain detail and clarity in both images. This skill is essential for anyone looking to combine images effectively in Photoshop.
Understanding Layers in Photoshop
Layers are fundamental to working in Photoshop. They allow users to edit images without affecting the base image. Understanding how layers function is essential for combining images effectively.
Layer Basics Explained
In Photoshop, a layer acts like a transparent sheet that holds various content types. Users can have multiple layers in a single project, each containing different pieces of artwork.
Key Types of Layers:
- Image Layers: Hold photos or illustrations.
- Adjustment Layers: Change the appearance of layers without altering their original properties.
- Text Layers: Contain editable text.
Layers can be stacked and arranged in any order. The layer at the top will be visible, while those beneath may be partially or completely hidden.
Using layers wisely enables non-destructive editing. This means adjustments can be changed or removed without harming the original image.
Importance of Layer Compositing
Layer compositing involves combining two or more layers to create a single image. This technique is crucial when merging images as it allows for creative freedom.
Benefits of Layer Compositing:
- Flexibility: Users can adjust each layer independently.
- Creativity: Multiple effects can be layered for unique visuals.
- Organization: Keeping elements on separate layers prevents clutter and confusion.
When working with layers, one can use blending modes, opacity adjustments, and masks. This adds depth and complexity to images, enhancing the final outcome. Layer compositing is an essential skill for achieving polished, professional results in Photoshop.
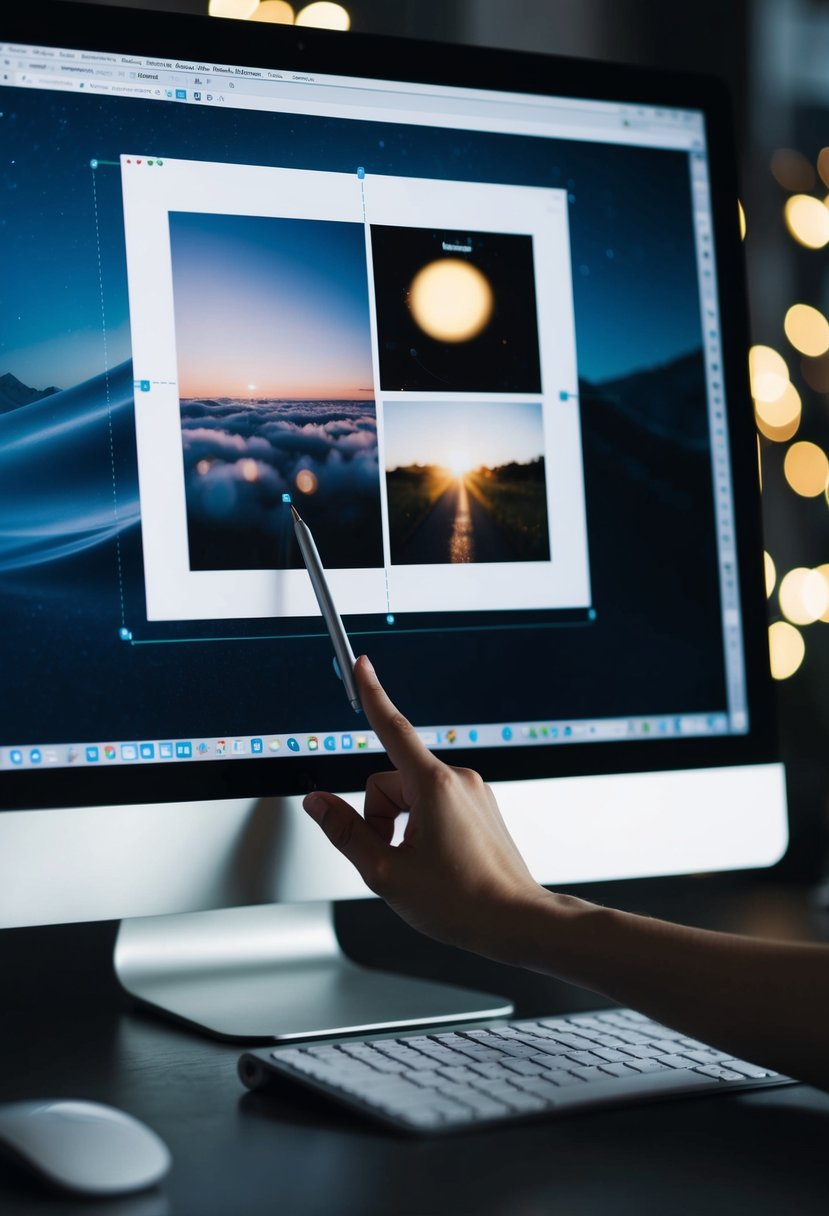
Techniques for Merging Images
Merging images in Photoshop involves various methods that enhance creativity and precision. Understanding how to use layer masks and blending modes effectively helps create stunning compositions.
Using Layer Masks
Layer masks allow for precise control when merging images. This technique lets the user hide or reveal parts of a layer without permanently altering the original image.
To start, add a layer mask to the top layer.
- Select the layer: Click on the layer you wish to mask.
- Add a mask: Click the layer mask icon at the bottom of the Layers panel.
- Paint to reveal or hide: Use a soft brush with black paint to hide parts of the top image or white paint to reveal them.
This method is beneficial for blending edges seamlessly between images. Making adjustments is simple since the original layer remains unchanged.
Blending Modes for Seamless Integration
Blending modes determine how layers interact with each other. They can change the color and tone of an image based on the layers underneath.
To use blending modes, select the layer and locate the dropdown menu at the top of the Layers panel labeled “Normal.” Here are a few effective modes:
- Multiply: Darkens the image by multiplying the base color with the blend color, suitable for shadows.
- Screen: Lightens the image, making it great for highlights or adding softer effects.
- Overlay: Combines Multiply and Screen, enhancing contrast.
Experimenting with different modes helps achieve various visual effects. Adjusting the opacity of the layer adds further control, enriching the final image result.
Troubleshooting Common Issues
When combining images in Photoshop, users often face specific challenges. Addressing alignment and color discrepancies is crucial for achieving a polished result.
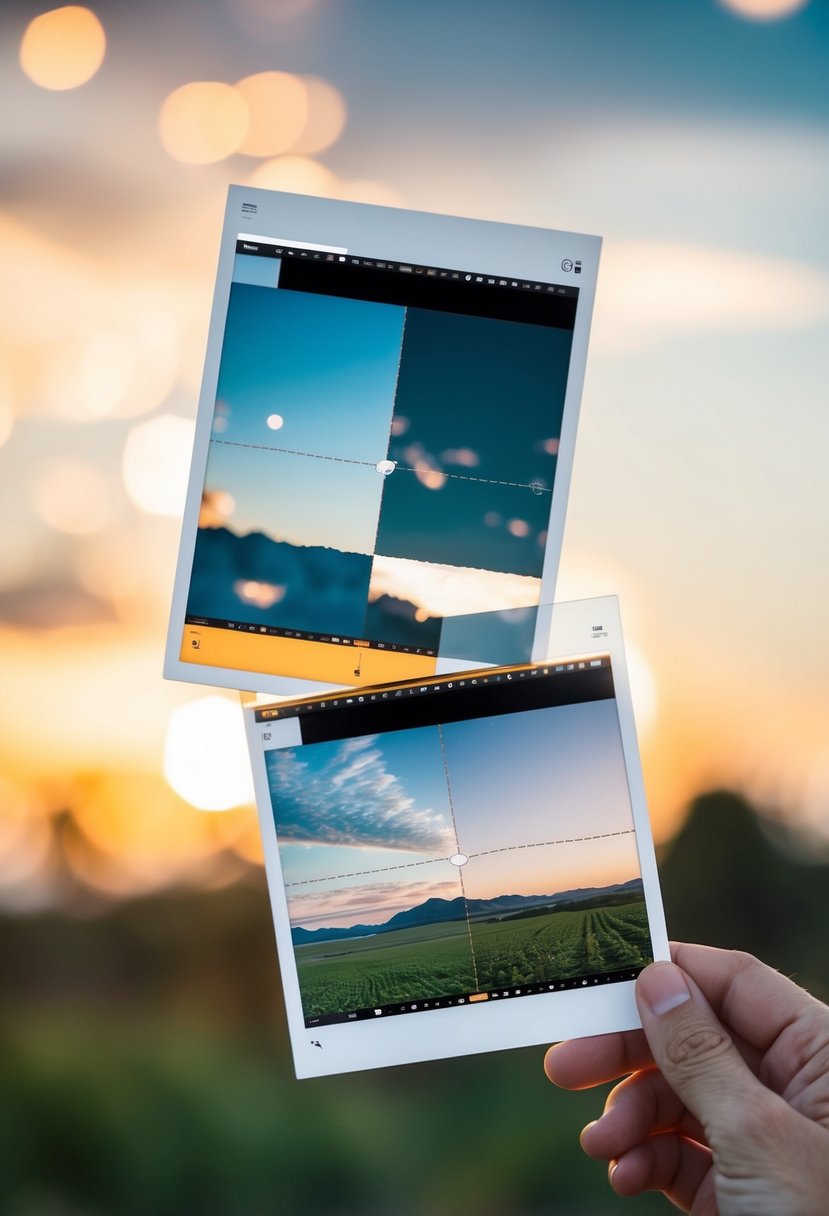
Addressing Alignment Problems
Alignment problems can disrupt the look of combined images. To fix this, start by ensuring that the layers are properly arranged in the Layers panel.
- Select Layer: Click on the layer that needs adjustment.
- Move Tool: Use the Move Tool (V) to reposition the image.
- Nudge: For finer adjustments, use the arrow keys to nudge the layer into place.
If images are not aligning correctly, check the following:
- Resolution: Ensure both images have the same resolution.
- Guides: Use guides (View > New Guide) to help align the images accurately.
After adjustments, zoom in to check the edges for a seamless look.
Handling Color Discrepancies
Color discrepancies can make combined images appear mismatched. To resolve this issue, follow these steps:
- Adjustment Layers: Create an adjustment layer for color correction.
- Curves: Use the Curves tool to match brightness and contrast.
- Hue/Saturation: Adjust Hue/Saturation to balance colors.
It’s helpful to use the Color Picker tool to compare key colors from both images. Here are additional tips:
- Blend Modes: Experiment with different blend modes to achieve a natural look.
- Color Match: Use the Match Color feature (Image > Adjustments > Match Color) for a more automated approach.
By carefully addressing alignment and color issues, users can significantly improve the quality of their combined images.